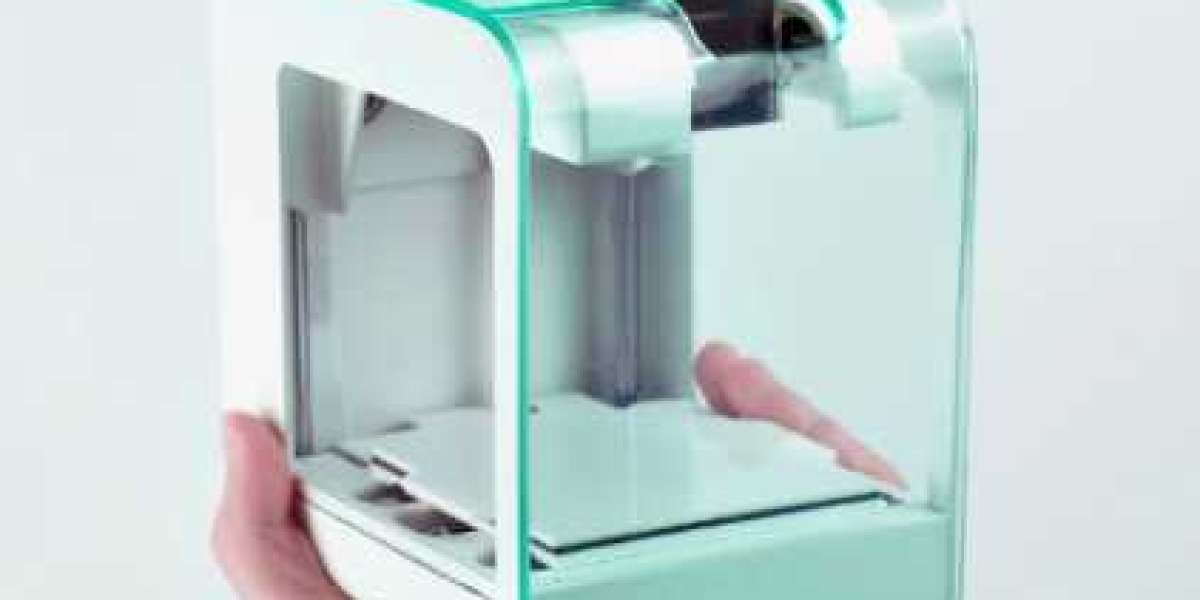
With the continuous progress of science and technology, 3D printers are gradually popularized in ordinary home and office environments. Mini 3D printers are favored by many beginners because of their small size and easy operation.
Preparatory work
Before you start, make sure you have purchased the right mini 3D printer and have the following materials ready:
3D printer: Choose a mini 3D printer suitable for beginners and make sure it is properly installed and connected to power.
Printing materials: Common printing materials include PLA, ABS and so on. Select the right material for your printing needs.
Computer and 3D modeling software: You will need a computer and corresponding 3D modeling software (such as Tinkercad, SketchUp, etc.) for creating or downloading 3D models.
Quick start procedure
Connect the power supply: Connect the 3D printer to the power supply and make sure all cables are properly plugged in.
Install the driver: Connect the printer to your computer and install the appropriate driver. If you encounter compatibility issues, you can use tools such as Printer Guard to automatically identify and install drivers.
Platform calibration: Using the included tool, adjust the print platform to ensure its level. This step is crucial for print quality.
Preheating: Depending on the material you are using, set the preheating temperature of the nozzle and print bed. For example, PLA plastics typically require 190-220°C, while ABS plastics require 210-240°C.
Operation process
Design or acquire a 3D model: Use 3D modeling software to design the model you want to print, or download an existing 3D model from the Internet. When designing a model, take into account the limitations of 3D printing, such as the size and complexity of the model.
Slicing setup: Use slicing software (such as Slic3r, Cura, etc.) to convert the 3D model into a Gcode file, which is a language that the 3D printer can recognize. In the slicing process, set the printing speed, filling density, support structure and other parameters, which will affect the final printing effect.
Loading material: The 3D printing material is loaded into the feed port of the mini 3D printer.
Start printing: In the 3D printer's control software, select your Gcode file and click "Start Printing". At this point, the 3D printer will start executing the instructions generated by the slicing software, stacking the material layer upon layer to build your 3D model.
Monitor the printing process: During the printing process, you need to always pay attention to the operating status of the printer to ensure that the printing process goes smoothly. If an exception occurs, stop printing in time, check the problem, and resolve it.
Post-processing: After printing is complete, use pliers or scissors to remove the support structure on the model. If desired, the model can be sanded to make the surface smoother, and then colored to make it more ornamental.
Matters needing attention
Safety first: When operating a 3D printer, be sure to pay attention to safety. Hot nozzles and printing beds may cause burns. Please keep your distance.
Regular maintenance: Regular maintenance and cleaning of the 3D printer to ensure its normal operation.
Familiarize yourself with the operating manual: Before using a 3D printer, make sure you are familiar with the relevant operating manual and follow safe operating procedures.
With the above steps, you can quickly start and operate a mini 3D printer. From designing the model to slicing setup, to starting printing and post-processing, every step requires careful manipulation. After familiarizing yourself with these steps, you will be able to print a variety of interesting 3D models and enjoy the fun of 3D printing.